- Drop the widget into the canvas area, a window will pop up.
- A window with a Calendar type selection will open. Here you can decide what calendar data you wish to import. The import source options are:
- Google account
- Microsoft Outlook account
- Custom Calendar that includes: CSV link, API

3. Sign in to your account/ enter the Calendar URL
Import from Google Account
After choosing the source Google Calendar will prompt a module of Google for a Sign in to your account.

Import from Microsoft Outlook
After choosing the source Outlook Calendar will prompt a module of Microsoft for a Sign in to your account.

Import from Custom Calendar
Selecting the option Import with Custom Calendar.
This will open a window with 2 options for selection:
- CSV link
- API Script
CSV Link
You will have to enter a CSV Link you got from the document.
Please read this guide on How to get the link.

If your file is not open to the public and is locked with a username and password you need to click on the Account Login toggle.

API Import
You will have to enter a document’s API URL.

4. Choosing visible calendars. If your account has multiple calendars that you are managing, in this step, you can decide what you want to be shown in the Calendar Widget.

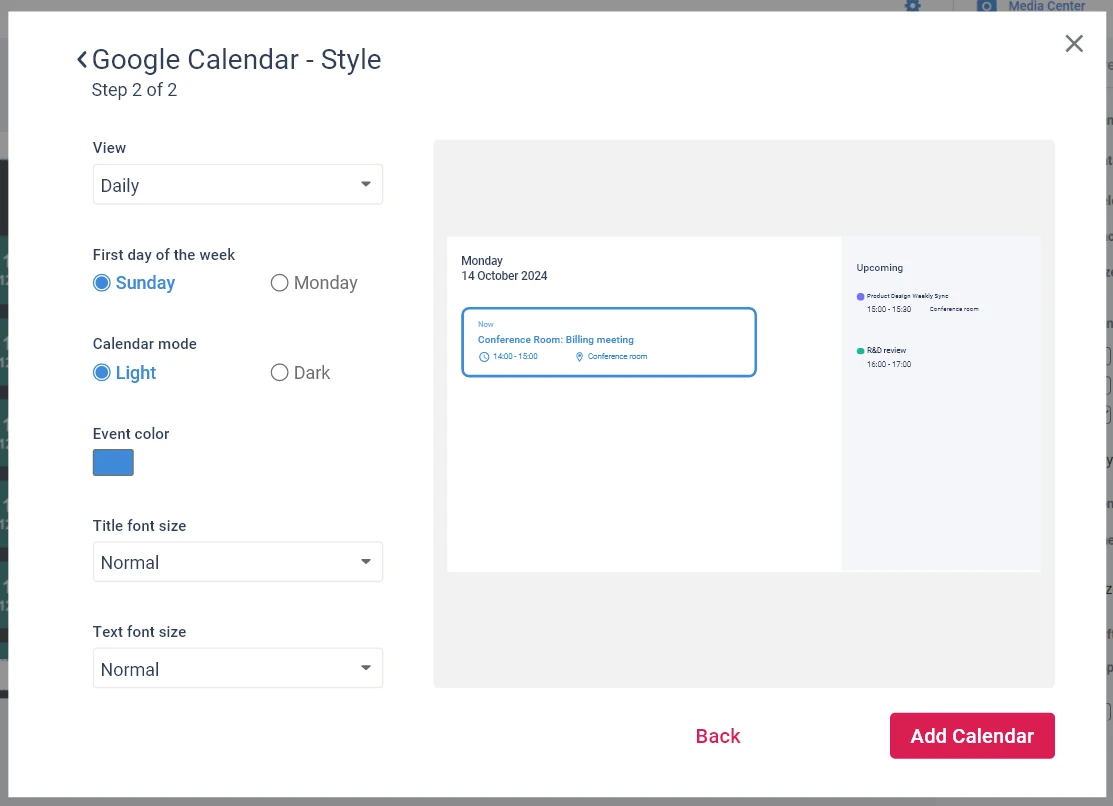
5. The final step in Calendar configuration is Styling. With a few settings, you can personalize your Calendar.

6. Click Add Calendar, and within a few brief moments, it will seamlessly integrate into your Canvas interface.
