Sign up for a free evaluation account
Text Download ➞
Title Subtitle Download ➞

Digital signage guide

Introduction to NoviSign Digital Signage Software

The NoviSign solution enables you to create and broadcast sophisticated and striking digital channels to engage your customers and to keep them instantly informed. You can choose to use the numerous formatting online tools to easily compose your digital channels, or you can store digital channels that already exist in NoviSign’s Digital Signage Software. You online Studio account (the CMS) includes several templates for easy preparation of these projects. Once you complete your digital projects, you can store them as playlists to be broadcast whenever you wish. In addition, playlists can be grouped together to manipulate multiple projects at once.

banner 1

The figure above depicts the broadcast flow through the Web of all NoviSign digital channels, comprising ads, notices and campaigns

There are five simple stages in the NoviSign process:

download arrow 11

Hardware

download arrow 10

Registering

download arrow 09

Composing Digital Channels

download arrow 08

Creating Playlists

download arrow 07

Connecting to the Network

Hardware

The first step is getting your digital signage player. NoviSign runs on AndroidChrome OS and Windows media players.

8

Setting up Hardware for NoviSign

121
Specifications for a screen and player
11

Screen

Choose an LED or LCD screen that will fit your space with HDMI video input.

11

Player

You can use a Windows-based platform or Android-based platform as your player hardware device.

Android-based device option: Get an Android TV player such as the models below or one of the recommended players that can be found on our site:

Asset 27
Connect the Player to:
11

Power

11

Network

11

Screen

Asset 26
Mount the screen on the wall
Asset 25
Mount the mini PC behind it

Windows-based device option: Choose a mini PC with a Windows operation system.

Now you are ready to prepare your message

Registering – Setting up NoviSign digital signage is quite simple from registration to the final published product.

1
Login to your online Studio account (https://app.novisign.com)

You must register. Registering offers you instant access to the NoviSign digital signage software dashboard without any obligation. If you should decide to join the NoviSign family, you have free 30-day trial of NoviSign digital signage software services for evaluation or after beginning use, for one month.

Digital signage software
Asset 27
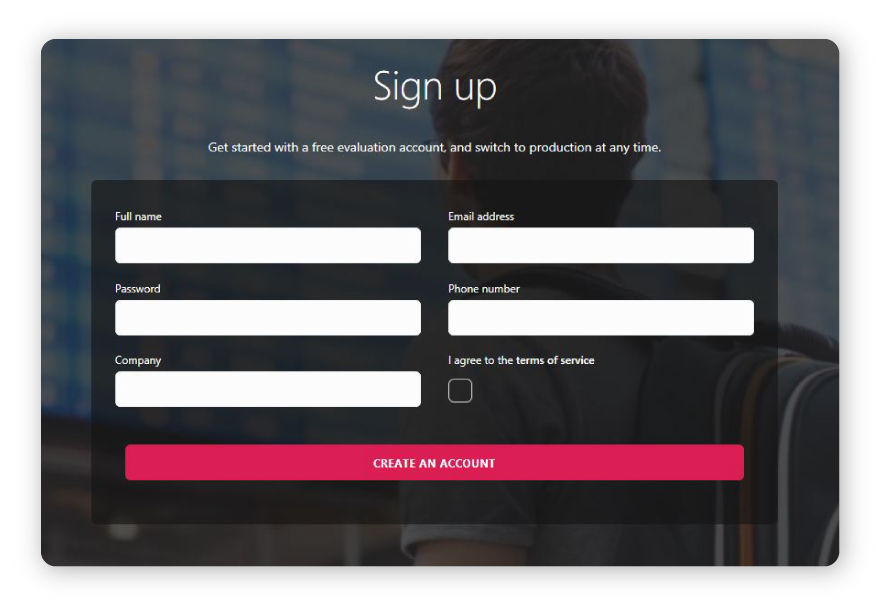
Click Sign Up

The Sign Up window opens.

Asset 26
Sign Up procedure
13

Enter your email address. The email address will be used as your user name.

13

Select a password. The password must be composed of at least 8 letters and numbers.

13

Enter your first and last names. Your company name is optional.

13

Check the box next to “I agree to the terms of service”. It is preferable to read the terms of service before checking the box.

13

Click Join.

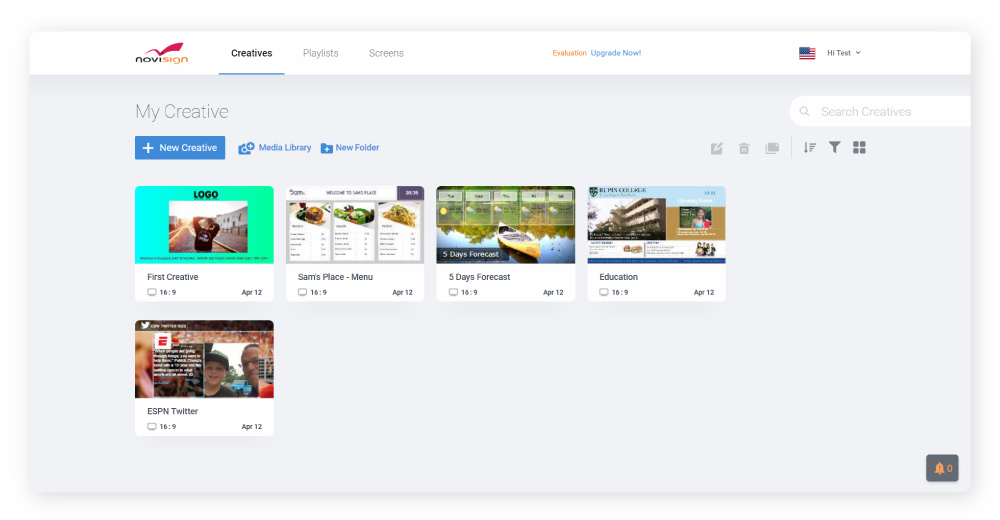
Note: Once you have signed up, every time you enter the NoviSign digital signage software home page and sign in, you will be directed automatically to the NoviSign digital signage software online Studio, directly to the My Creative screen.

Sign up form

The four main work areas of the digital signage software online Studio appear in the header, next to the NoviSign logo:

Creative

This is where you begin. Here you choose your layout and compose your digital channels with any of the many options NoviSign offers: video, images, YouTube, social widgets, etc. This is also where you store individual images, videos, YouTube selections, etc.

Playlists

This is where you store component sections of an ad campaign or content ready to be assigned to your players.

Screens

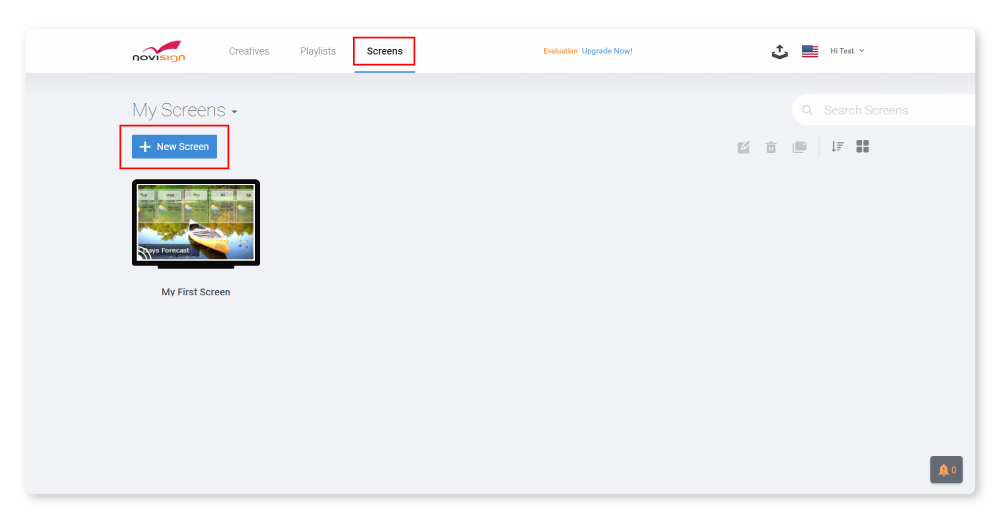
This is where you keep an inventory of your screens. Each screen here represents a screen in the real world. Here, they are connected with the NoviSign cloud server for publishing. This is also where each screen can be assgined one or more playlists. Also, from here you can take the screen key (unique identifying key) which uses for pairing a physical signage device with this screen in your Studio account.

Creative tab
Groups

You may want to group your screens together to easily setup broadcasting of a group of screens. For example, you can group all the players near the point of sale (POS). Drag a playlist to them once instead of assigning the playlist for each one of them separately.

In the NoviSign digital signage software dashboard you can choose to compose individual slides, add videos, music, YouTube, social widgets, RSS feeds, etc. and aggregate them into creatives and playlists or import already prepared creatives or playlists.

Composing Slides (creatives):

121
Click the button
“Create from Template”

The Template screen appears.

Here, you enter the project name and description, you determine the layout dimension, and you select the template you prefer.

Note: You have both landscape and portrait options. For example, the wide screen at 16:9 is landscape; that at 9:16 is portrait.

Creative Composer
Asset 27
You select the dimensions of the screen you prefer in the drop-down window next to the Template screen name.

Note: You have both landscape and portrait options. For example, the wide screen at 16:9 is landscape; that at 9:16 is portrait.

Asset 26
When done, click the Create button.

The Creative Composer screen appears.

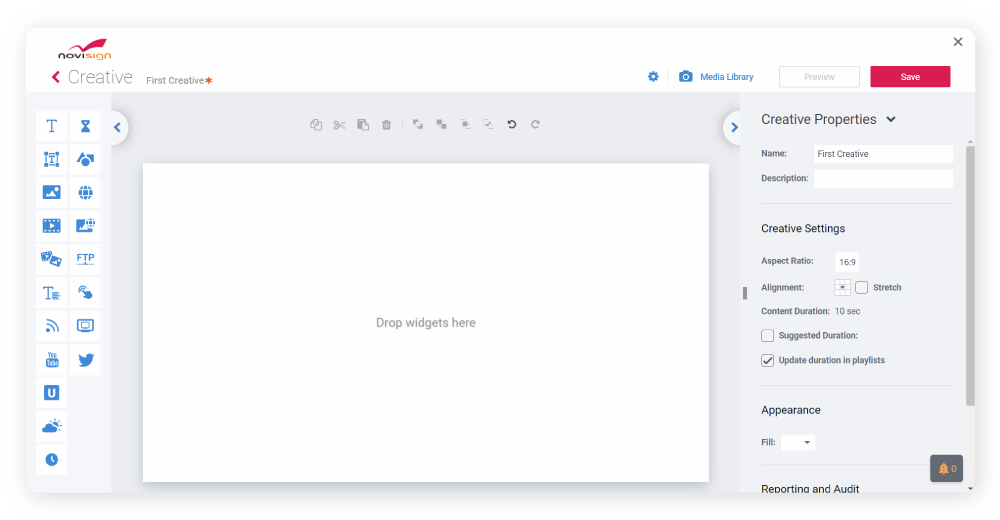
The Creative Composer screen, your dashboard for creating the digital channel and its content, has three parts:

13

Activity buttons in the left-hand pane

13

The Editor (dashboard) where the digital channel is put together

13

The Properties panel on the right

Asset 25
Go first to the panel on the right. If you did not give the digital channel a name in the Template screen, do so now. Otherwise, the name automatically appears under Creative Properties.

.

Signage Templates
Asset 23
Select a color or colors.

The Fill properties window appears.

The top row enables selecting:

13

No color

13

A solid color

13

Various gradients

To select a gradient, click on the gradient boxes that you prefer. In the diagram above, the third box has been selected.

13

Click on the small box to the left under the color bar and select a color.

13

Click on the small box to the right under the color bar and select a color.

In this example, there are two variants of blue, each displayed in the small boxes under the color bar. In addition, the opacity, which can be modified, is 100%.

Asset 30
click
Close

You can view the background color of your digital channel in the Editor

Studio Creative Composer

You are now set to add all the information to your digital channel. NoviSign’s digital signage software offers a wide array of easily performed activities for creating a successful customer.

The array of activities are displayed in eleven buttons in the left-hand pane of the screen.

This user guide will illustrate only several of the options in the Activity array, as many of the activities follow the same principles.

Widgets
Asset 32
Adding a logo

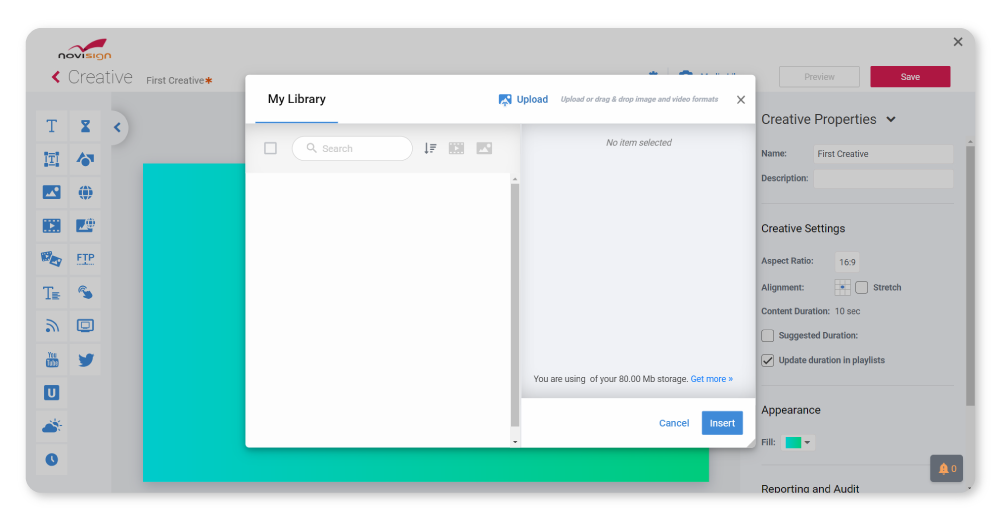
Drag the Photo button onto the Editor to the location where you wish to place the logo.

Media Library

Choose media window opens.

13

Click Upload.

13

Navigate for the file on your computer and select it.

The Uploading Files window is displayed. Note Finished in the bottom left-hand corner.

13

click the button

Close
13

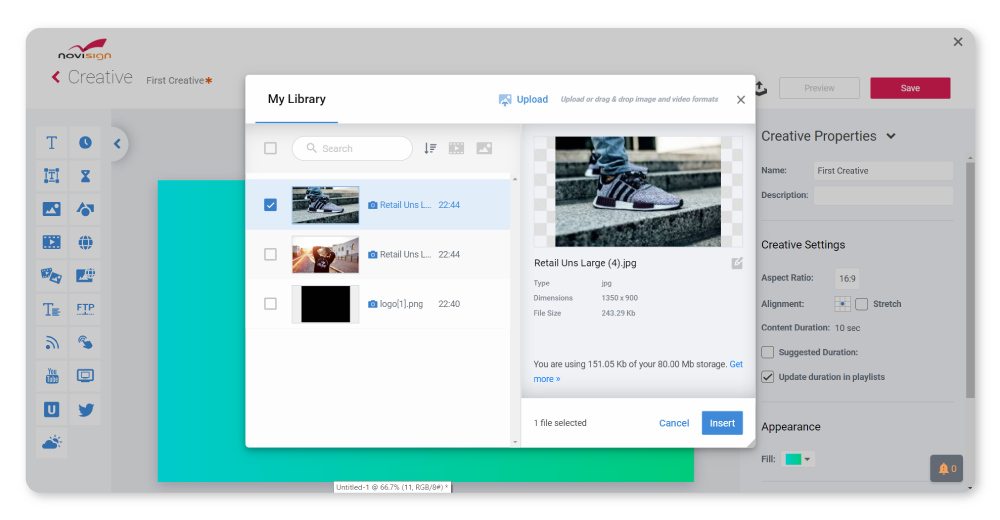
clickThe Choose media window again appears but with the new uploaded image. The information about the image (type, date, and name) and a copy of the image are marked in gray.

Click this gray line.

13

The information is now marked in orange, and the logo appears in the box on the left side. Click OK or click again on the information line.

Upload to my Library
My Library

The logo appears on the Editor dashboard. You can now drag and drop the logo size it according to your preferences.

n
Asset 33
Adding a shape

Drag the Shape button onto the Editor to the location where you wish to place the shape.

Adjust the dimensions of the shape as you wish by dragging the circles in the corner to enlarge or shrink it or by dragging the squares to change the proportions.

Note: The Properties panel on the right has changed to Shape Properties, enabling you to select a number of different shapes.

s
k
Asset 34
Adding text
13

Drag the Text button onto the Editor to the location where you wish to place the Text.

13

Add text as you would in Microsoft Word.

13

The text in the selected font, size, and style appears in the Editor.

Note: The Properties panel on the right has changed to Text Properties. You can select font, size, italic, bold, underline, color, and position, etc. In addition, you can cut, delete, copy, and paste.

r
z
Asset 35
Add New Playlist.

Creating Playlists

After you have created a number of digital channel images, you will want to collect them into a playlist so that they can be broadcast together.

13

Go to the My Creative screen.

h

You can view the playlist by clicking on the Play arrow in the small screen to the right.

13

Select the images you wish to add to a playlist.

13

Enter a name and a description for the playlist in the boxes next to New Playlist.

Note: You are now in the Playlists work area.

13

If you wish to add another digital channel, click the Add creative button

h1
13

click the create button

Note: This button is not activated until you enter a name for the playlist.

h4

The My Playlist screen opens with the new digital channel. Connecting to the Network

13

You have completed all the packaging stages. You must now connect to the network to broadcast!

screens
Asset 36
Send to digital signage player
13

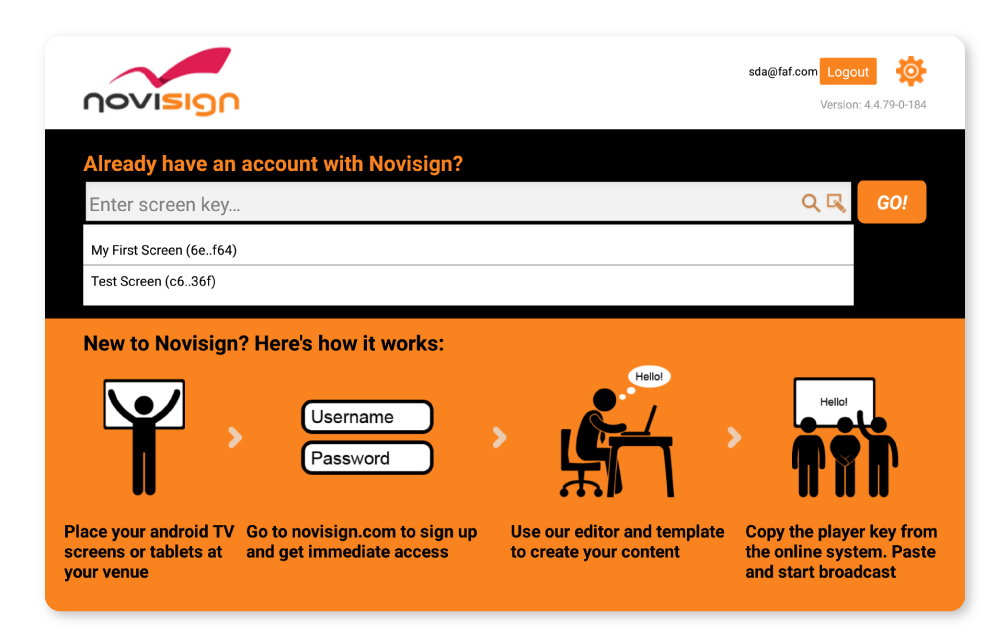
Connect your media player to the TV via HDMI and WI

13

Install the NoviSign app

13

Log-in to your NoviSign account

13

Select the magnifying glass icon that is located on the right side of the search bar

13

Choose your screen name and click let's roll

Digital signage app