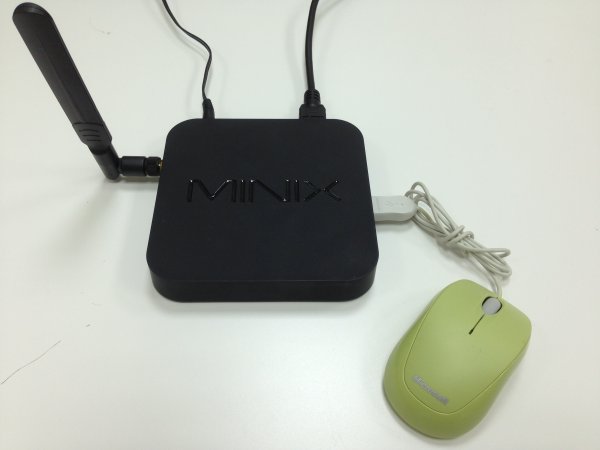
1) You need to use a PC with Windows 7 64bit or Windows 7 32bit (not sure about Windows XP Pro). Windows 8 will not work here and won’t detect the Minix once you connect it to it.
2) Contact us by support@novisign.com in order to get the firmware ZIP file. There are 2 different image files: one from Dec 2013 (good for older manufactured model) and another from Oct 2014 (good for newer manufactured model). If you flash the older image on a brand new Minix Neo X7, you might discover that the WiFi doesn’t work (the new image will solve this!).
3) Once you get the ZIP file, right click the zip file “Flash X7 firmware.zip” and save it on your PC.
4) After the download is complete, unzip the file, to get the Android flashing tool utility and the drivers for the Minix. You can also download the drivers from Minix website (the file name is NEO USB Driver V3.5 and it’s 306KB).
5) Right click the image file “2013-11-13_box_x7_rotation root 1080p.zip” and save it on your PC.
6) After the download is complete, unzip the file, to have an img file. This is the image you’re going to flash on your Minix as a new firmware.
7) Start the flashing tool utility (run the file “RKBatchTool–1.7.exe”). All the connected devices should be in gray color.
8) Connect the Minix to your PC using USB-to-OTG cable (OTG side goes to the OTG port of the Minix and the USB side goes to your PC).
9) Now you need to bring the Minix into flash mode. Use a paper clip to insert into the reset hole of the Minix. Hold it down and in parallel plug the power cord, keep the paper clip there for 3 – 5 seconds and press the on/off button for 1 second (t oturn it on). Take out the paper clip. You’re supposed to hear a ding sound from the connected PC. That means the Minix is now in flash mode and ready to be flashed.
(If your PC doesn’t seem to have a new connected hardware, you might need to jumper the Minix for auto power on, so you won’t have to press the on/off button for putting the Minix into flash mode; another thing you might need to do is to use a different PC.)
10) On your PC, you should choose to manually search for a driver and then find the appropriate driver you got on step #4 and select it (i.e. if your operating system is Windows 7 32bit, you should choose “x86” or “Win32Bit” and then drill down to find the driver for Win7).
11) After the driver is successfully installed on your PC, you should be able to see the Minix in the device manager Windows utility. Now the PC can recognize your Minix.
12) On the PC, in the RocketChip flashing utility, you’re supposed to see a green square in the connected device frame (representing your Minix). If you don’t, you might need to use a different driver for the Minix (there are 2 drivers: one will show you “Minix” in the Windows device manager, while the other will show you “RocksHub” – and that one seems to work better).
13) In the RocketChip flashing utility, in the “FW Path” choose the image file which you downloaded on step #5.
14) Click the “Restore” button. This will erase all the data on the Minix and then will flash the new image on the Minix.
15) It will take a couple of minutes till you see the success message.
16) Unplug the USB cord from the PC and unplug the power from the Minix.
17) Plug the power to the Minix and turn it on. The first time it starts will take more time than the usual, so be patient.
18) After the Minix is up and running, you’ll be able to notice the rotation option on its screen (“Settings” -> “Display” -> “Screen rotation”; if you choose “Portrait”, the Minix will go into portrait rotation mode).
You can use the video for flashing the Minix Neo X7 as an aid.
If you need to flash the smaller version of the Minix Neo X7, the “mini”, you can use this walkthrough.

0 Comments